Knitting New Vintage Garments

Since I haven't written anything on my poor blog for months and months, I've got a bit of a backlog. So prepare yourself for a long essay on the process of knitting a cardigan using vintage yarn and a vintage pattern.

Some time back, I bought a number of skeins of this beautiful vintage wool. There were two shades of pale blue, and a lovely buttery yellow. I had no idea what I was going to make with this yarn. I just knew that it spoke to me.

Thankfully, there are many wonderful people who have cataloged vintage patterns online, to share with weirdos like me.
I went hunting for a garment that would suit my aesthetic, would be appropriate for the style of yarn I had, and most importantly would not require more yarn than I had purchased.
I found this adorable pattern from the February 1947 issue of Stitchcraft magazine. It's described as "Rainbow Stripes -- for a charming evening jumper." The gauge of yarn seemed perfect, and I knew that stripes were a great way of stretching out limited amounts of precious yarn.
The stripes appealed to me as did the tiny little nubbins. The garment seemed pretty straightforward.
(Robb even figured out what magazine the model in the photo was reading. Apparently, it's the August 1946 edition of Vanity Fair.)

It's also worth mentioning that vintage patterns are significantly less thorough than what modern knitters are used to nowadays. While modern knitting patterns come in a wonderfully wide range of sizes, vintage patterns are what I call "one-size-fits-SOMEONE." Vintage patterns rarely offer schematic drawings or even any measurements. At the same time, these older patterns tend to be incredibly text heavy -- line after line of numbers, which can be incredibly daunting. And while modern patterns generally provide a lot of supporting technical instructions, vintage patterns will just give terse instructions along the lines of "finish neckline with crochet." Robb and I joke about vintage cookbooks that say something like "prepare grouse in the usual manner." You wonder why anyone found this sort of thing helpful.
I relish a challenge. So I set to work knitting sample swatches, to make certain that the gauge in the pattern (the number of stitches per inch) was in line with my own knitting. Usually, this is a process of figuring out which size needle produces the correct knitted fabric.
As I knit my swatches, it became immediately apparent that something was wrong with the original pattern.
The garment that the model was wearing was a smooth stockinette stitch punctuated with little decorative nubbins. For those not familiar with knitting terminology, stockinette is the typical smooth knitting stitch that make up most knitted garments.
My test fabric wasn't smooth, and it didn't have nubbins.

I adjusted my knitting to eliminate the ridges in my fabric, figuring that this might also rectify the nubbin situation.
Nope. My knitting needed nicer nubbins.

Given this, I did what any modern knitter would do, and asked the vintage knitting community for insight. Together, we knit an impressive array of samples.
And none of them looked anything like the original garment.

I tried bobbles and nupps and popcorn. And for those who were wondering, I decided that bobbles used too much of my limited supply of vintage yarn, nupps were hateful to knit, and that popcorn stitch was exactly what I was looking for.
Barbara Walker's instructions (pictured above) are for popcorn stitch on a purl background. I knit mine on a stockinette background.


To counteract the inevitable curling, I knitting interior facings. These would exert an opposite curling force, and theoretically produce a nice straight edge. They would also offer a bit more structure along the edges of my garment.

I carried my knitting everywhere.

The cats were very helpful.

Since the pattern offered no insights into the ultimate dimensions, I used a favorite t-shirt as a template.

I checked my fit throughout the entire knitting process.

While I was very happy with the fit of this garment, I was less than pleased with the way the bottom hem curled up on itself.

This tendency to curl up is a characteristic of stockinette stitch. This is why knitted garments are typically finished off with a ribbed hem and ribbed cuffs. The ribbed stitch counteracts the curling.

The original pattern did not have any ribbing on the hem of on the sleeve's cuffs. I found this incredibly odd.

To counteract the inevitable curling, I knitting interior facings. These would exert an opposite curling force, and theoretically produce a nice straight edge. They would also offer a bit more structure along the edges of my garment.
In this photo, you can see the hem of my garment on the left and the button band on the right. (This is a picture of the inside of my little cardigan.) What you'll notice is that the hem has been stitched down and is behaving exactly as I had hope it would. The button band has not been secured, and is still curling up on itself.

In this photo, the button band is on the right, and the hem facing is on the left. I find this lovely smooth finish deeply satisfying. I really try to make the insides of my garments look as nice as the outsides.


I did the same thing with the sleeves. I knit a little facing, and then secured it to the body of the sleeve.

The pattern produced sleeves that are not shaped like modern sleeves. The 1940s silhouette has a very distinctive shape. I hoped this was correct.

Another significant challenge was getting the stripes on the sleeves to line up with the body of the garment. My sequence of stripes was not the same as that of the original pattern. So I mapped out my own sequence, with pencil and paper.
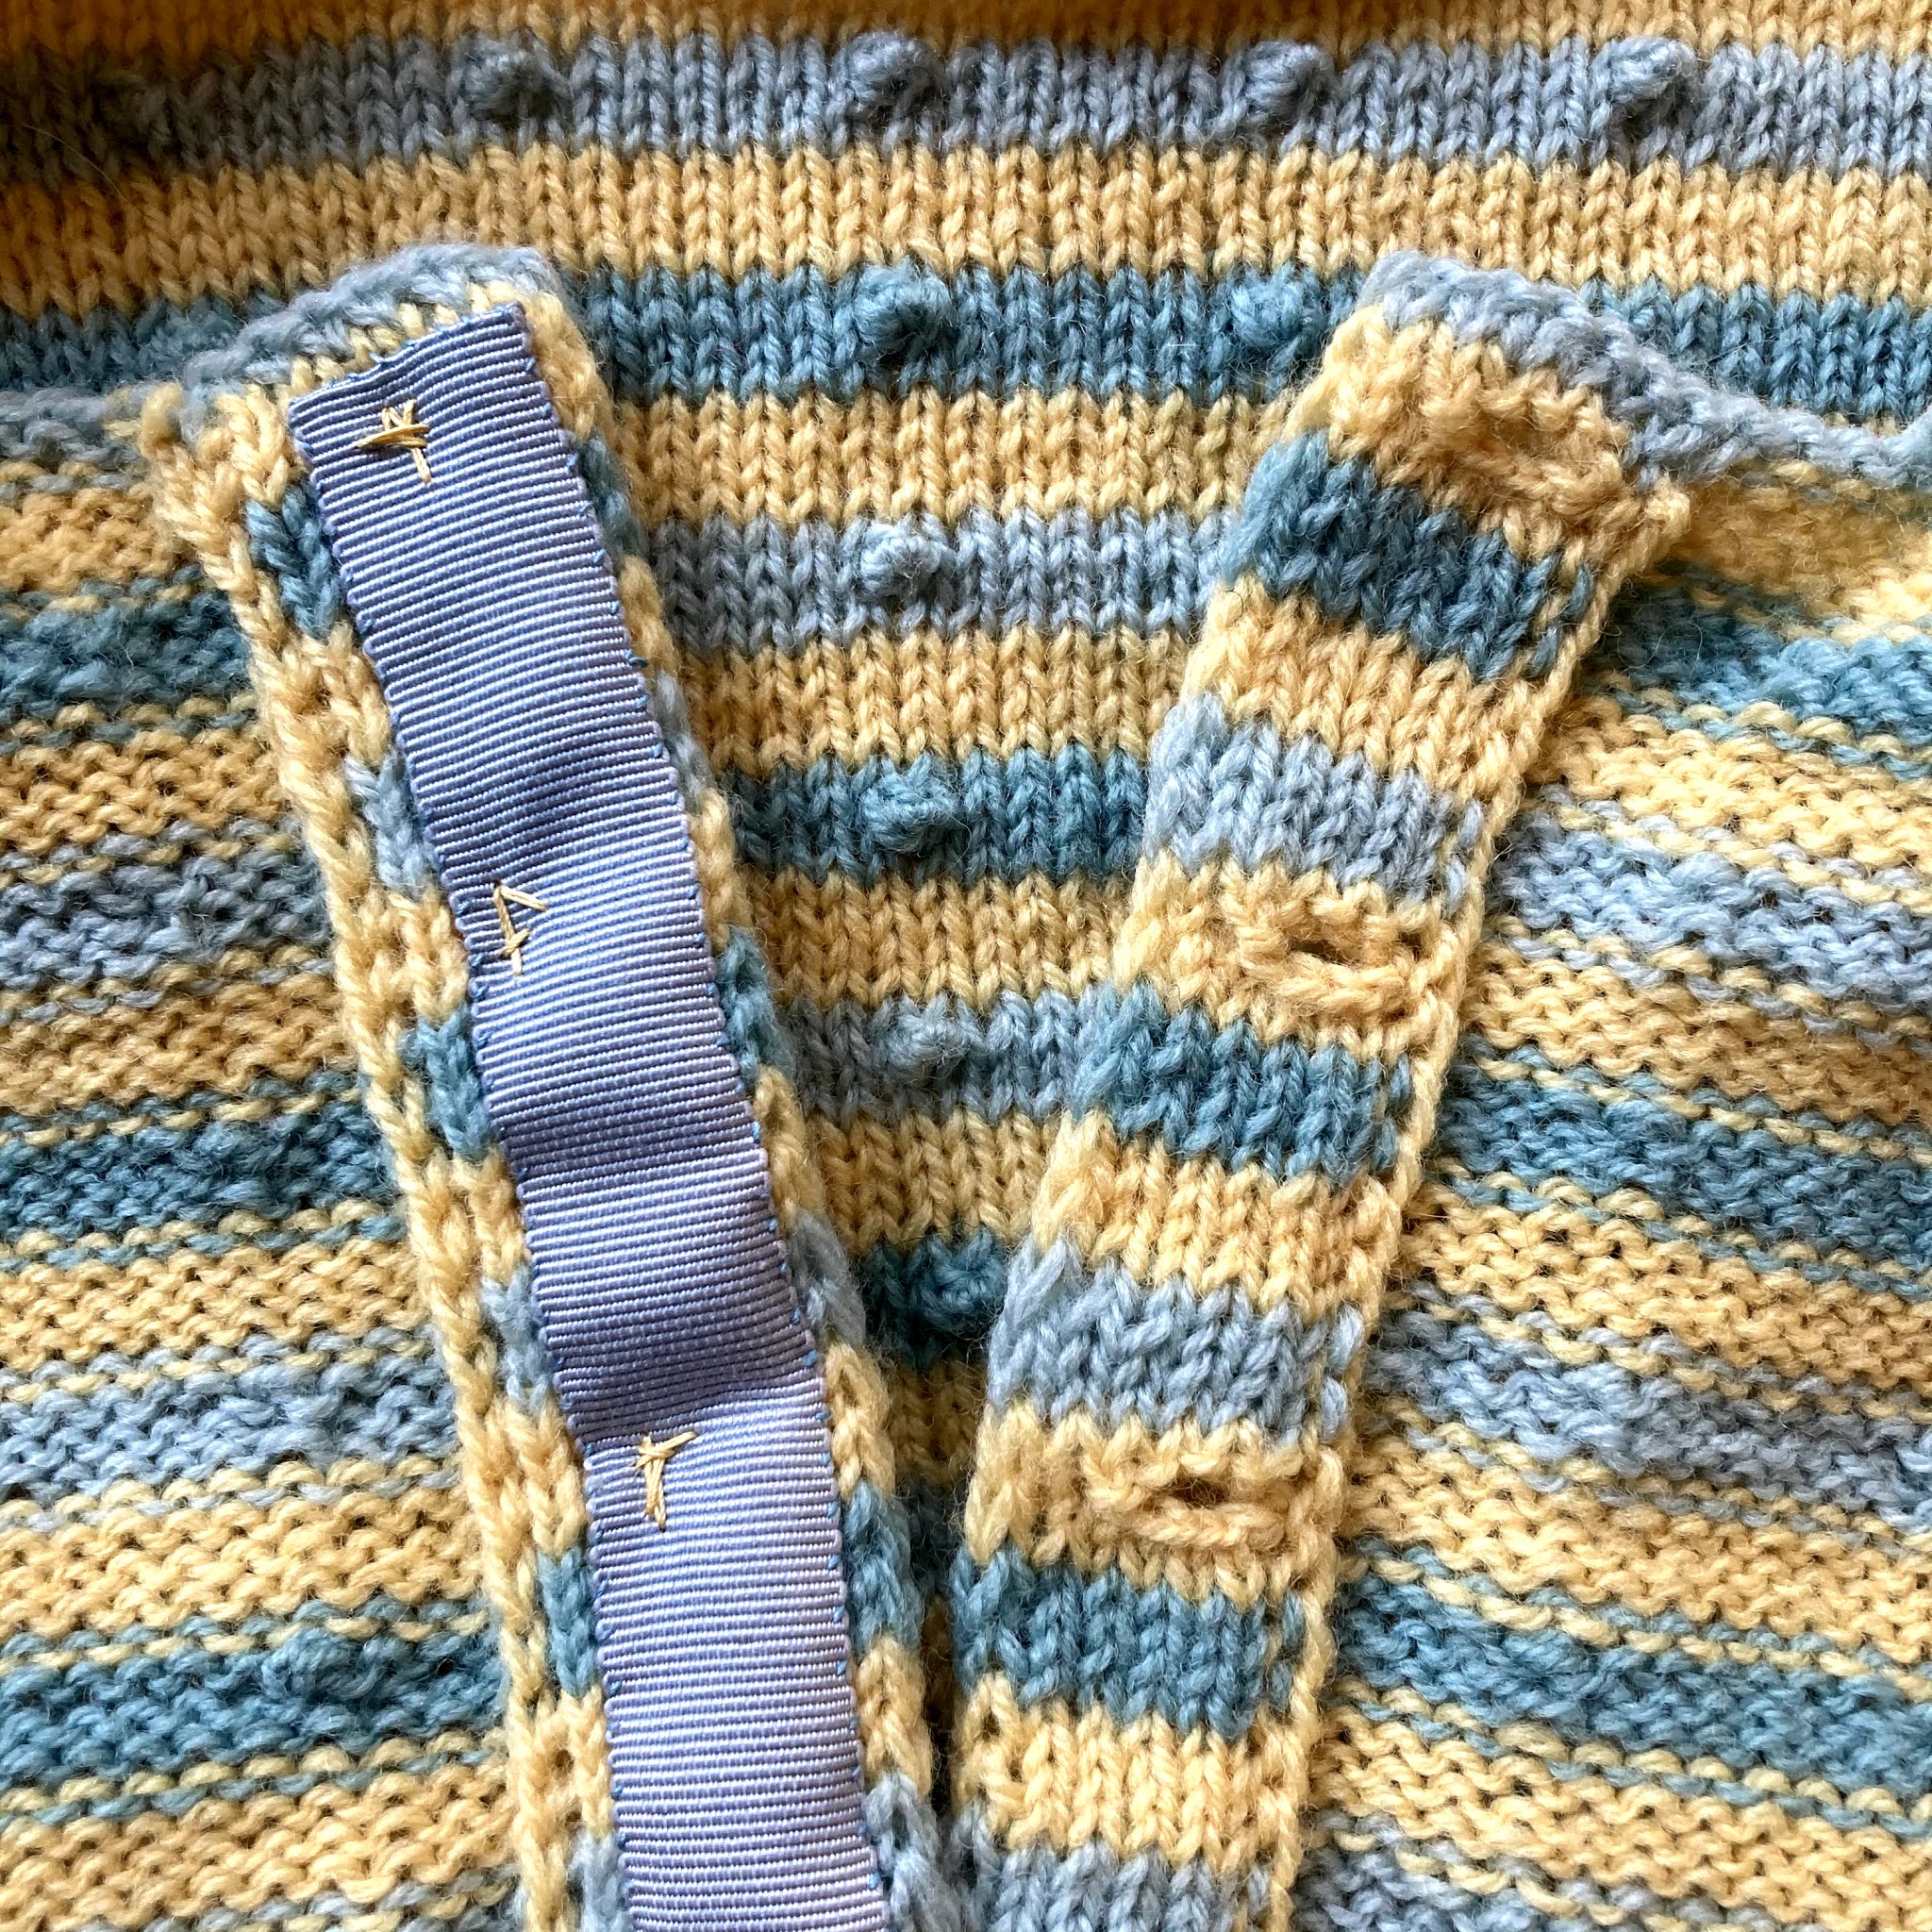
Since my button bands were double thickness, I had to build button holes into both the body of the garment and the button bands. I have no idea if this is a normal knitting technique. It made sense to me, but I've never seen it on any garments or in any knitting instructions.
I sewed in grosgrain ribbon to provide a bit more support for the buttons, and to help maintain a firmer edge. I wish I'd done a neater job of sewing on my buttons. I'm not sure why my stitching is so erratic.

I actually owned the perfect button for this project. This never happens.

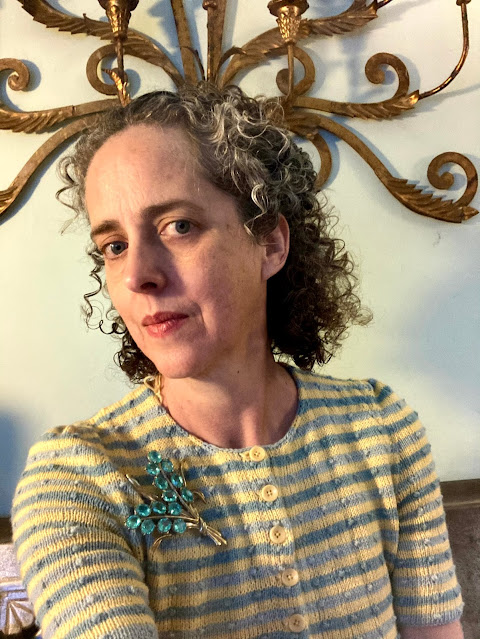
Here's the finished garment. (I see that I still have to weave in a few loose ends at the back of the neck.
I'm incredibly proud of my work. I think the fit is lovely. The stripes align perfectly. It looks just as I'd envisioned. And I didn't run short on irreplaceable vintage yarn.

I'm a happy knitter.


Comments
-- Gretchen (aka stashdragon)