Wrapped in the Flag
....
If there has been a lack of activity on the blog of late, it is because I've been so inundated with work. I've had virtually no life. I work thirteen hour days, and then pass out on the couch, watching British gardening shows on tv. Apparently, I find watching other people work very soothing.
Here's what we did, the week before last.
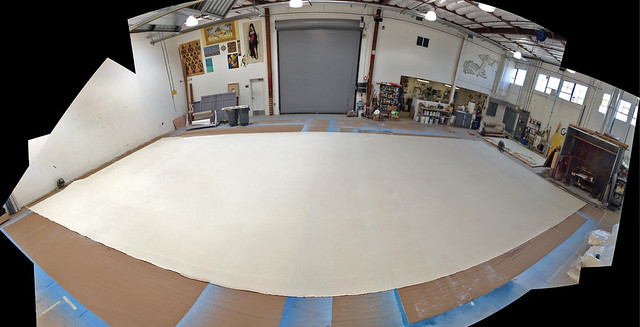
On Friday March 13th, we drew a series of rectangles on the paper that covers our studio floor. We spread the massive backdrop fabric out, and then carefully stapled it inside the boundaries of the boxes we'd drawn. You'll notice that we go pretty much from wall-to-wall. There's about two feet between the fabric and the wall on the left side of the photograph. On the other side, the fabric goes right up to the concrete floor of our spray booth -- not so easy to staple into that.
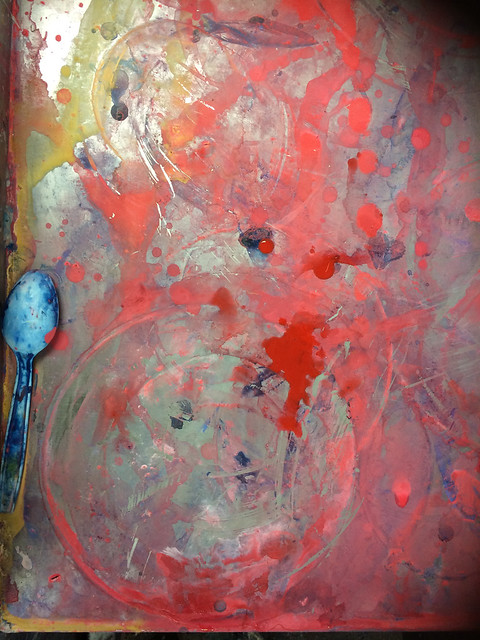
I cooked a batch of corn starch, and sprayed it onto the fabric. This "sizes" the fabric, making it easier to paint.

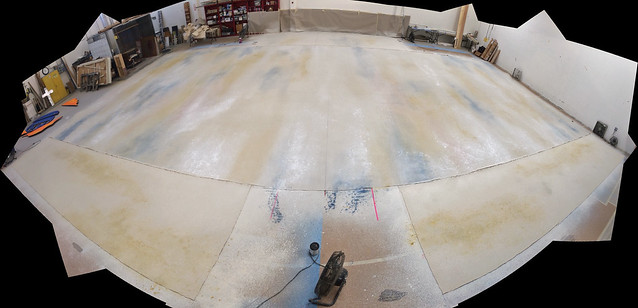
Over the weekend, I painted a base-coat of white on the fabric, and then applied a watercolor-y underpainting. We're painting the Union Jack, but in our version, there's a lot of texture and staining. The underpainting is painted in dirtied primary colors. In this photo, I've finished the blue and the yellow, and am preparing to paint the red undercoat.
Because the final product will be so huge, we painted this in four sections. When assembled, it will measure over seventy feet in width.

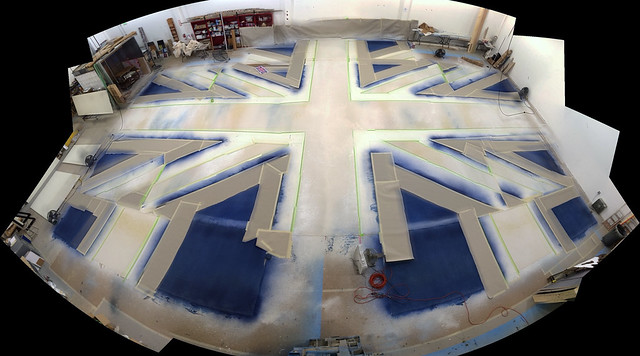
Once the underpainting is complete, we have to mask all the areas of the flag that we don't want to paint. Here, we're using four inch wide automotive masking tape (the green stuff) and four foot wide sign-painters' masking paper ) the white stuff with the brown backing).

Here's where we were on Wednesday March 18th. I've started painting the blue areas of the flag. This flag wants to look somewhat faded, so I built up the colors with layers of spray. I used a hand-held garden sprayer to apply my paint. All colors were custom-mixed in our studio.

Here's all the blue completed, on Saturday. You may notice something strange about the diagonals. Because of the way the scenery goes together, the shapes are extra-complex. I won't be entirely comfortable until I see it all go together. The mathematical aspect of this project was remarkably tricky.
The masking is reconfigured, so that I can paint the red areas. This was remarkably time-consuming.
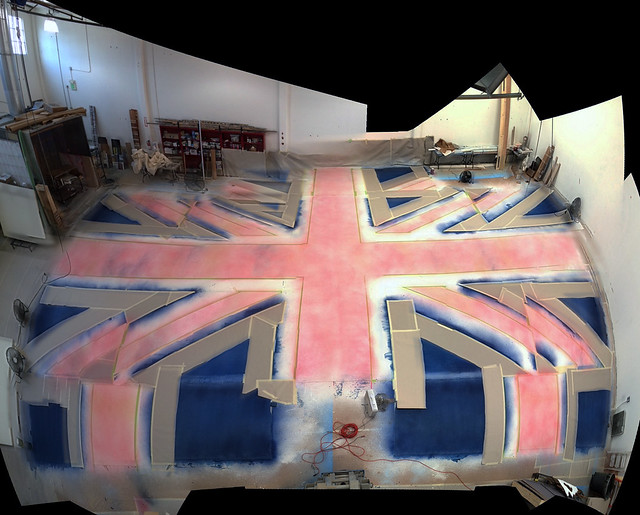
Here's how things looked at the end of the day on Saturday. I've painted the first coat of red. Red is a remarkably transparent pigment, so these sections will need many layers of paint.

All the painting was finished by the end of the day on Sunday. The sun is starting to set, and there are dramatic shadows on the floor of the studio.
In addition to the red paint, there are more layers of staining, to add texture to the flag.

All the masking has been removed, I think the flag looks wonderful! Removing the masking took a remarkably long time. We spent Monday morning getting to this stage.

Here's a photo that my coworker Lynne Eve took. Emma and Anna are drawing guidelines that will help the carpenters attach the flag to the hard scenery.
For a sense of scale, consider this: Anna (who is wearing the red shirt) is almost six feet tall.
If there has been a lack of activity on the blog of late, it is because I've been so inundated with work. I've had virtually no life. I work thirteen hour days, and then pass out on the couch, watching British gardening shows on tv. Apparently, I find watching other people work very soothing.
Here's what we did, the week before last.
On Friday March 13th, we drew a series of rectangles on the paper that covers our studio floor. We spread the massive backdrop fabric out, and then carefully stapled it inside the boundaries of the boxes we'd drawn. You'll notice that we go pretty much from wall-to-wall. There's about two feet between the fabric and the wall on the left side of the photograph. On the other side, the fabric goes right up to the concrete floor of our spray booth -- not so easy to staple into that.
I cooked a batch of corn starch, and sprayed it onto the fabric. This "sizes" the fabric, making it easier to paint.
Over the weekend, I painted a base-coat of white on the fabric, and then applied a watercolor-y underpainting. We're painting the Union Jack, but in our version, there's a lot of texture and staining. The underpainting is painted in dirtied primary colors. In this photo, I've finished the blue and the yellow, and am preparing to paint the red undercoat.
Because the final product will be so huge, we painted this in four sections. When assembled, it will measure over seventy feet in width.
Once the underpainting is complete, we have to mask all the areas of the flag that we don't want to paint. Here, we're using four inch wide automotive masking tape (the green stuff) and four foot wide sign-painters' masking paper ) the white stuff with the brown backing).
Here's where we were on Wednesday March 18th. I've started painting the blue areas of the flag. This flag wants to look somewhat faded, so I built up the colors with layers of spray. I used a hand-held garden sprayer to apply my paint. All colors were custom-mixed in our studio.
Here's all the blue completed, on Saturday. You may notice something strange about the diagonals. Because of the way the scenery goes together, the shapes are extra-complex. I won't be entirely comfortable until I see it all go together. The mathematical aspect of this project was remarkably tricky.
The masking is reconfigured, so that I can paint the red areas. This was remarkably time-consuming.
Here's how things looked at the end of the day on Saturday. I've painted the first coat of red. Red is a remarkably transparent pigment, so these sections will need many layers of paint.
All the painting was finished by the end of the day on Sunday. The sun is starting to set, and there are dramatic shadows on the floor of the studio.
In addition to the red paint, there are more layers of staining, to add texture to the flag.
All the masking has been removed, I think the flag looks wonderful! Removing the masking took a remarkably long time. We spent Monday morning getting to this stage.
Here's a photo that my coworker Lynne Eve took. Emma and Anna are drawing guidelines that will help the carpenters attach the flag to the hard scenery.
For a sense of scale, consider this: Anna (who is wearing the red shirt) is almost six feet tall.


Comments
The flag is quite amazing, look forward to seeing pictures when it is in situ